I decided it was time to move to a dedicated network-attached storage server, and chose decommissioned enterprise hardware and Unraid.
Previously, my main PC had been performing multiple duties: a Plex server, with media grabbing automation software; the download and upload clients for that media; as well as all of my local file storage. This has more than several downsides. All of the SATA ports on my consumer-grade motherboard were occupied, I could only add storage externally, and I had to time reboots around my family’s media watching habits.
I did a lot of research on the best solution. I wanted something scalable but performant. Though I have the experience and skillset to manage a minimal server installation, I thought it wouldn’t hurt if there was a nice user interface. I wanted the unit to be easy to manage and deploy Docker containers for the software I use. Unraid really checked all of the boxes, although it’s a paid software
(which I would normally avoid).
The More Technical Stuff
My Unraid setup is similar to a RAID5 scenario, with one parity drive for the array. In the future, I may switch to two parity drives, similar to a RAID6 configuration. I purchased three new Western Digital Red 14TB drives, and the others were drives I already owned — I should probably concern myself with the longevity of the drives since their ages and previous usage vary, but the drives are the pricey part.

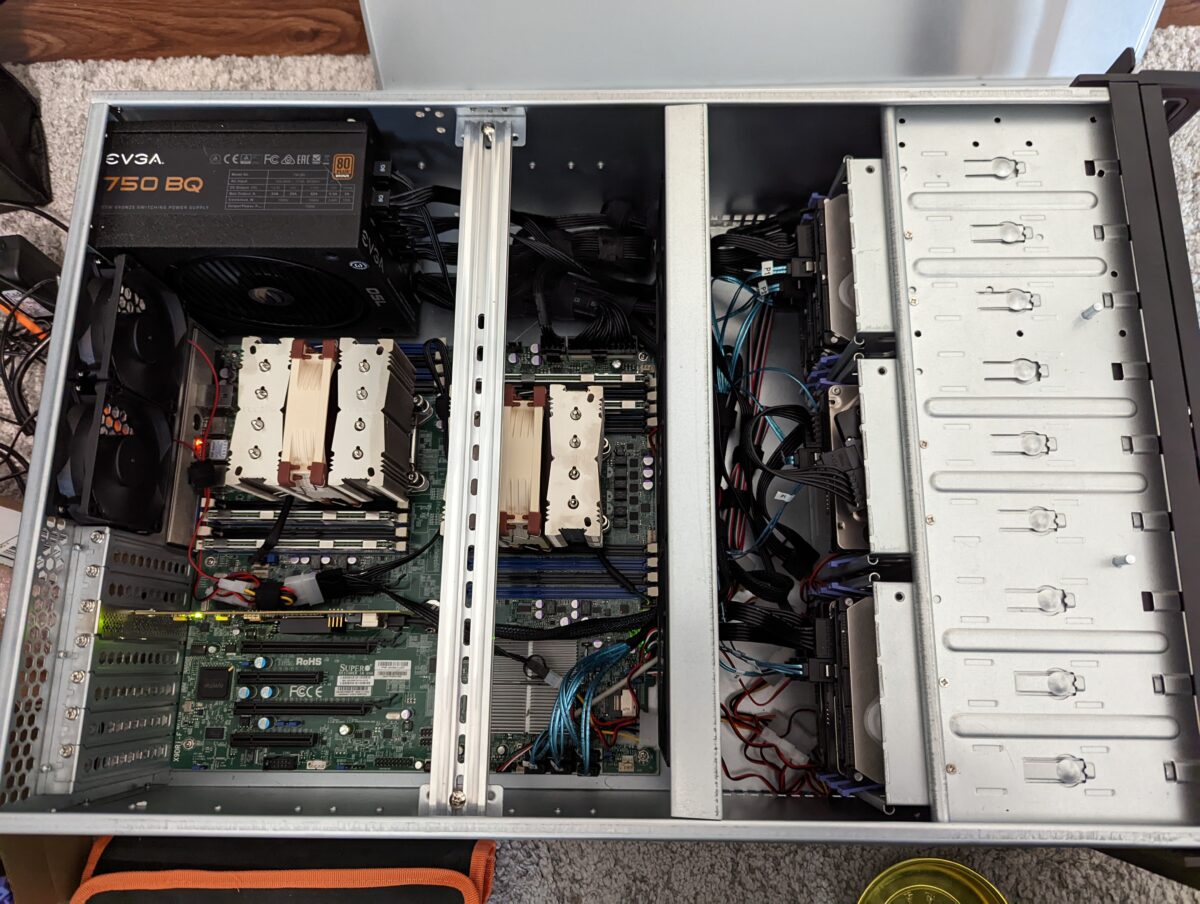
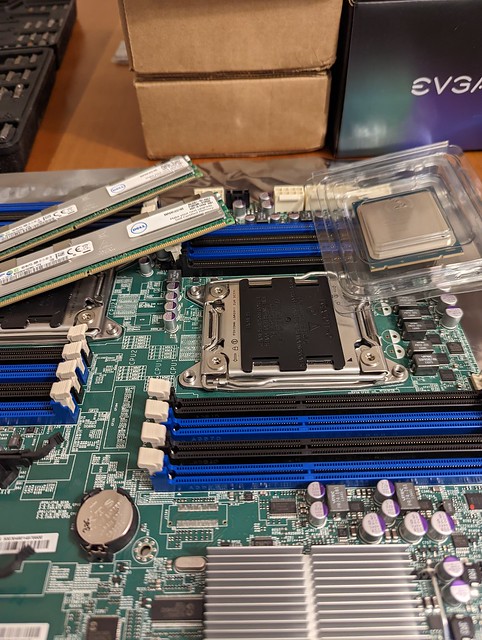
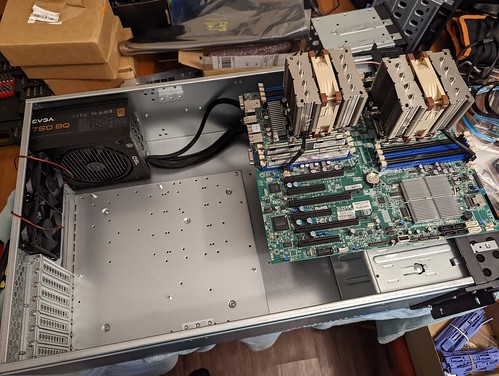
Speaking of parts, I decided I could get the best bang for the buck going with older enterprise hardware. Newer Intel processors support QuickSync, which is speedy for Plex transcodes, but the majority of devices we use are capable of direct play. I thought the higher core count would be beneficial for the Docker software I planned to run as well as the virtual machines that run on the server. I keep a few Windows VMs around for the times I really have to use it. I grabbed a SuperMicro LGA-2011 dual-Xeon mainboard and a couple of Xeon E5-2667V2s. One frustrating thing about this setup is the CPU slots have the narrow spacing instead of square, and there’s really only one decent cooler that fits.
The coolers still block two of the RAM slots apiece, but high-density DDR3 ECC RAM isn’t too expensive these days. I currently have 64GB and 8 slots unoccupied. Though, I haven’t yet seen RAM as a limiting factor in performance.
Initially, I had wanted to use a smaller case and didn’t see any use for a 4U rackmount case since I don’t own a rack. It quickly became apparent that I would have to make too many compromises on my care-abouts to go with a smaller chassis. Though this one is huge, it fits nicely in the closet and the temperatures stay reasonable. I’m able to run power and ethernet to the unit easily, since my PC’s powerstrip and a network switch are nearby.
Up and Running!

Overall, I’m pretty satisfied even though I hit a few stumbling blocks along the way with the software. Putting the unit together is the easy part — getting all the programs running and working in sync is more difficult. I wouldn’t recommend this project unless you’re familiar with a Linux command line and networking concepts. Dockers require a bit of port configuration, especially when running behind an Nginx reverse proxy.
Just thought I’d share a recent project since I’ve been pretty silent on the repair front! I hope to get back into putting repair videos up, but a lot of the stuff I want to fix is still in Indiana and we don’t really have the space right now. Looking forward to getting a dedicated workbench again!
One reply on “Building an Unraid NAS Server”
So proud of you!