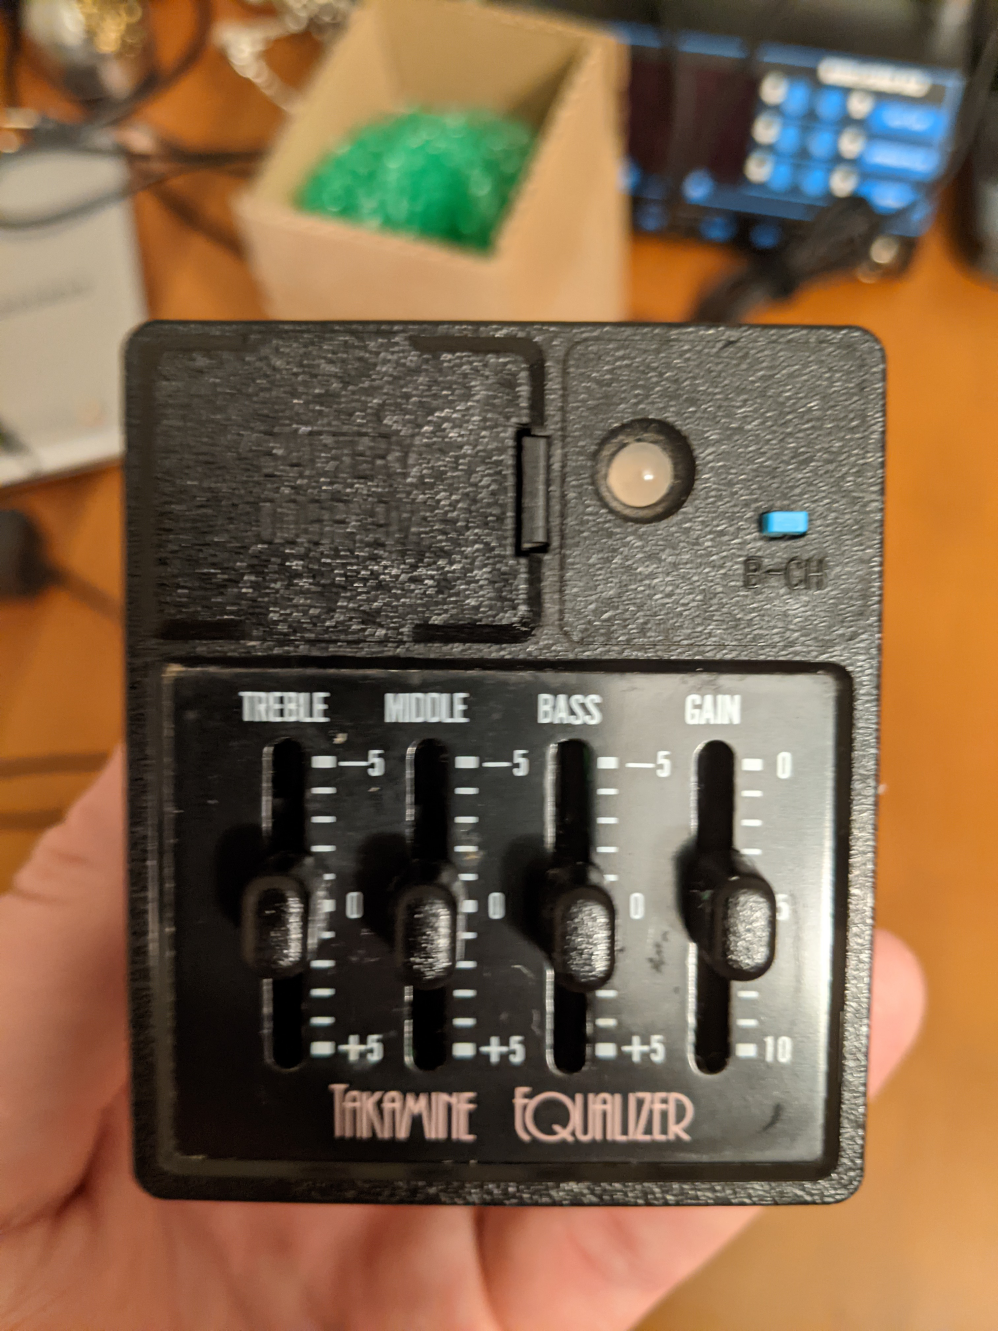
This is a pretty straightforward one — in contrast to the AccurAcoustic preamp, anyway. I was sent a Takamine N4B that showed no sign of life; when the battery was inserted, the LED indicator wouldn’t come on when the button was depressed. There was no output, which I mostly confirmed (in actuality, the output was low to the point of seeming like a total failure).
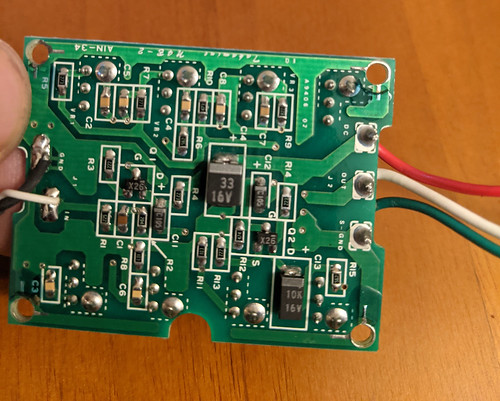
I tested the aluminum electrolytic capacitors, and though none had fully failed, they were all at least some degree of on the way out. Luckily, this is a pretty easy recap: radial capacitors can be used in place of the SMD caps on the board, so this is mostly a drop-in repair.
All the caps are marked, though some use abbreviated markings. I tend to have to reference a table to look them up myself. Luckily, I had all of the required parts on hand and was able to refresh this one quickly.
Parts List:
| Ref. Designator | Capacitance | Voltage |
| C11 | 1 uF | 16 V |
| C12 | 1 uF | 16 V |
| C13 | 10 uF | 16 V |
| C14 | 33 uF | 16 V |
| C31 | 100 uF | 25 V |
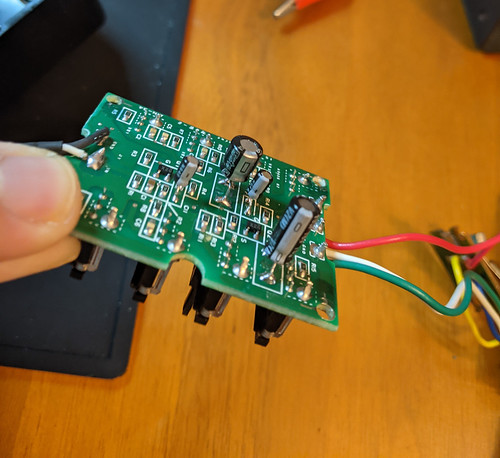
You’ll have to rock the plastic housings back and forth a bit as you desolder them. They’re glued to the board…just be careful not to lift the pads by pulling too hard! I’ve attached a Word Document below like last time. I fully created this one in LibreOffice, so let me know if the formatting isn’t correct.

I’ll try to get a Google Docs one up as well, but the application wasn’t working for me today.
One reply on “Takamine N4B Preamp Repair”
Very nice Bradley. Tremendously helpful.